Frames Per Second (FPS) is the number of images or frames rendered by the graphics chip on a computer. Higher FPS translates to smoother gameplay and better viewing experience. You can also use it as a metric to measure how your hardware stacks against a game.
Today, Windows, GPU management programs, and even game clients offer the option to display FPS counter. We will discuss five methods to track and show the FPS counter in Windows 11 while playing your favorite game titles.
1. USING THE XBOX GAME BAR
Xbox Game Bar is baked into Windows 10 and Windows 11. So, you don’t need to install it separately to show the FPS counter in Windows 11. You can use the Xbox Game Bar to capture gameplay photos, record videos, and track game performance. Here’s how to see FPS on screen using Xbox Game Bar:
Step 1: Launch any Game on your PC.
Step 2: Press the Windows + G keyboard shortcut to open the Xbox Game Bar.
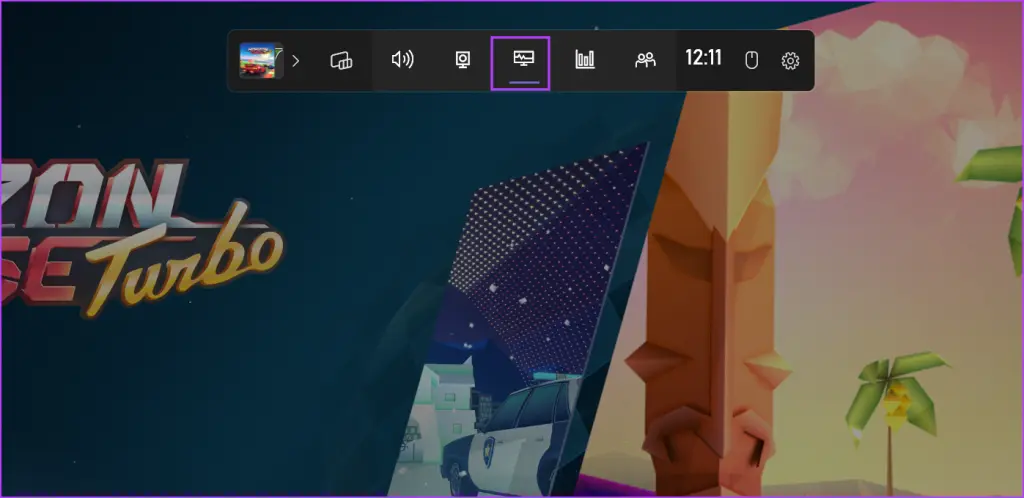
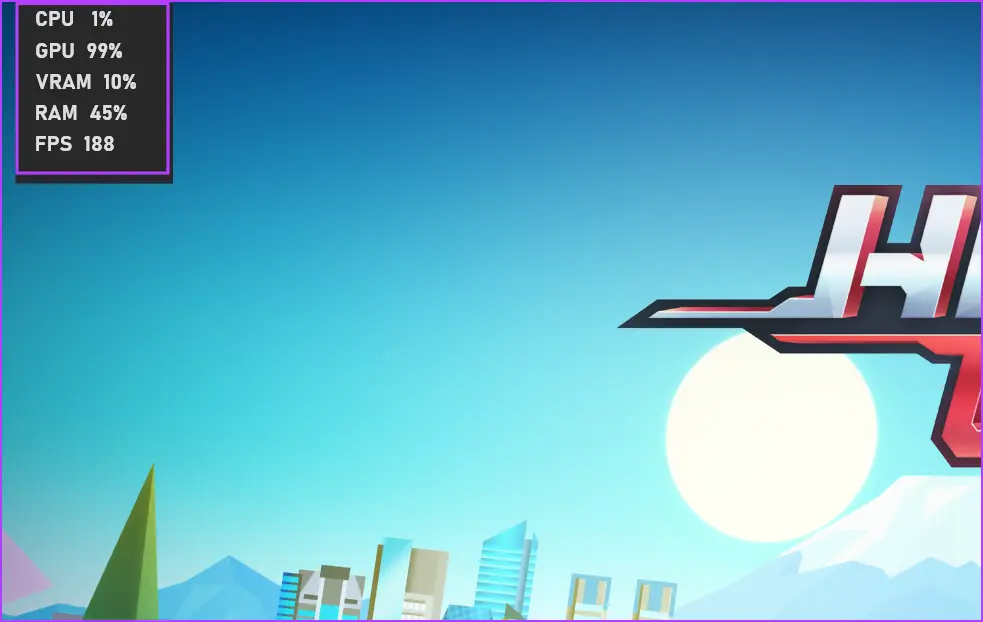
Step 3: Click on the Performance icon (monitor) to launch the overlay. You will see metrics in a small window.
Step 4: Move the overlay to one corner of the display and click on the Pin icon to fix it there.

Step 5: Click on anywhere on the game screen. It will minimize the Xbox Game Bar but keep the Performance overlay pinned on the screen.
2. USING NVIDIA GEFORCE EXPERIENCE
NVIDIA GeForce Experience is a dedicated utility to manage game and studio drivers, customize your game settings, and record and share gameplay. You can use the in-built overlays feature to display the framerates while gaming. If you don’t have the NVIDIA GeForce Experience app installed on your PC, firstly download and install it. Here’s how to use the app:
Step 1: Open the NVIDIA GeForce Experience app.
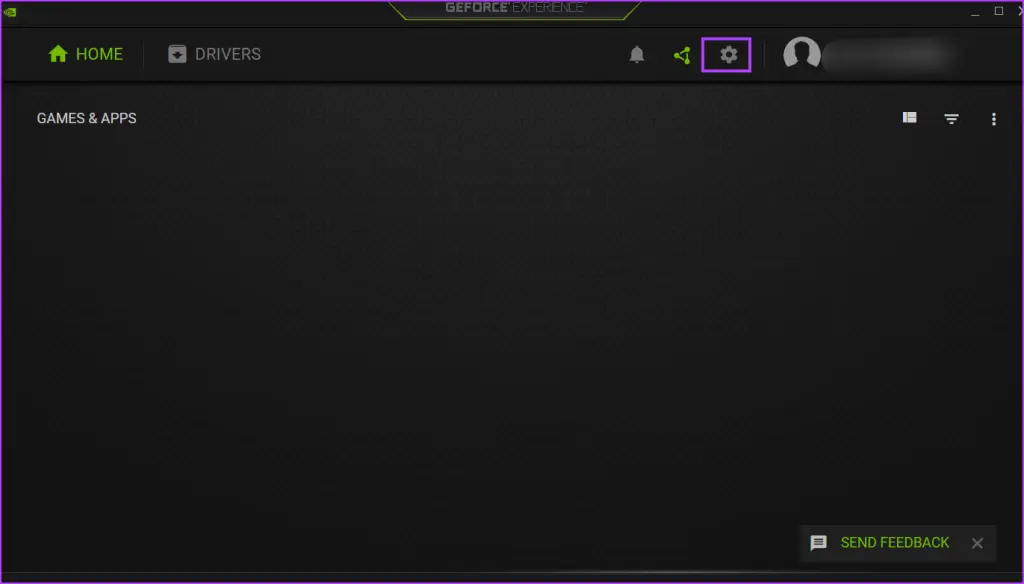
Step 2: Go to the top-right area and click on the Settings icon.
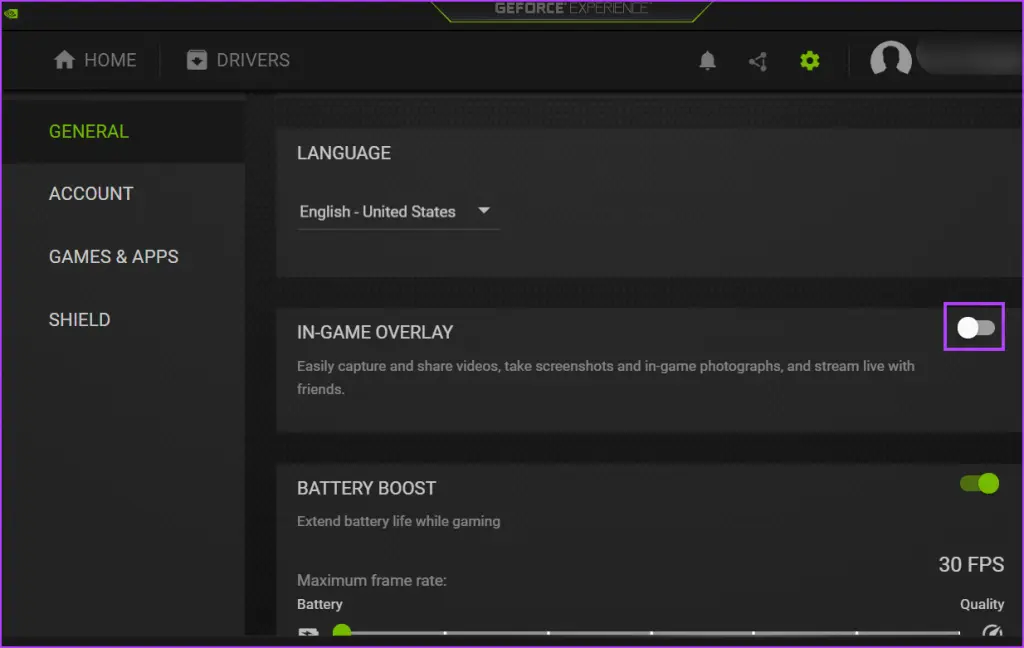
Step 3: Scroll down to the In-Game Overlay section. Click on the toggle to enable the overlay feature if it isn’t active.
Step 4: Click on the Settings option.

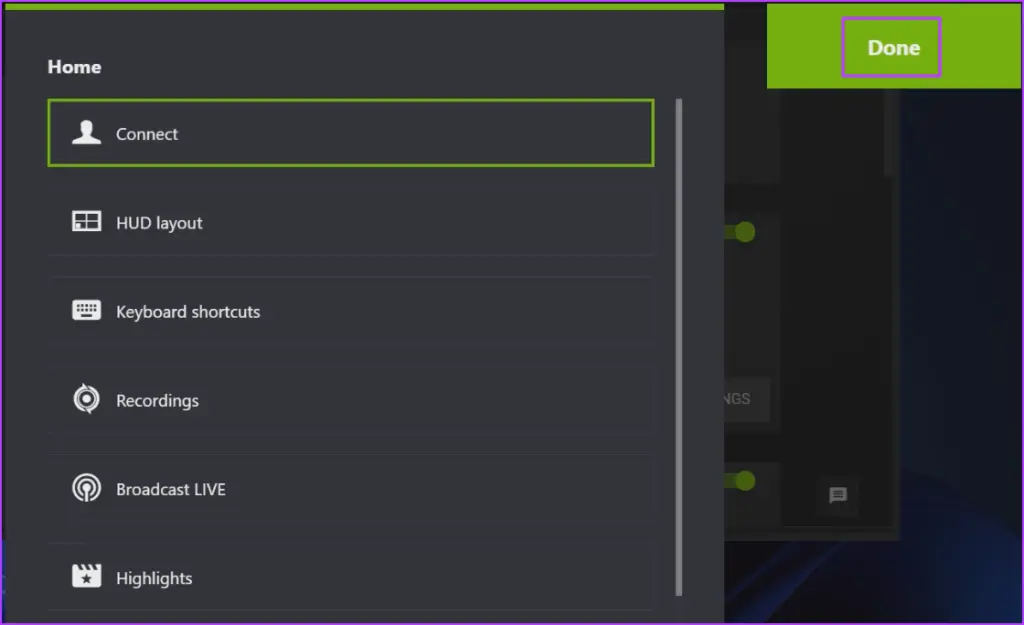
Step 5: Click on the HUD layout option.

Step 6: Click on the Performance option. Then click on the FPS option.

Step 7: Click on the Done button. Close the NVIDIA overlay.
Step 8: Launch a Game on your PC.
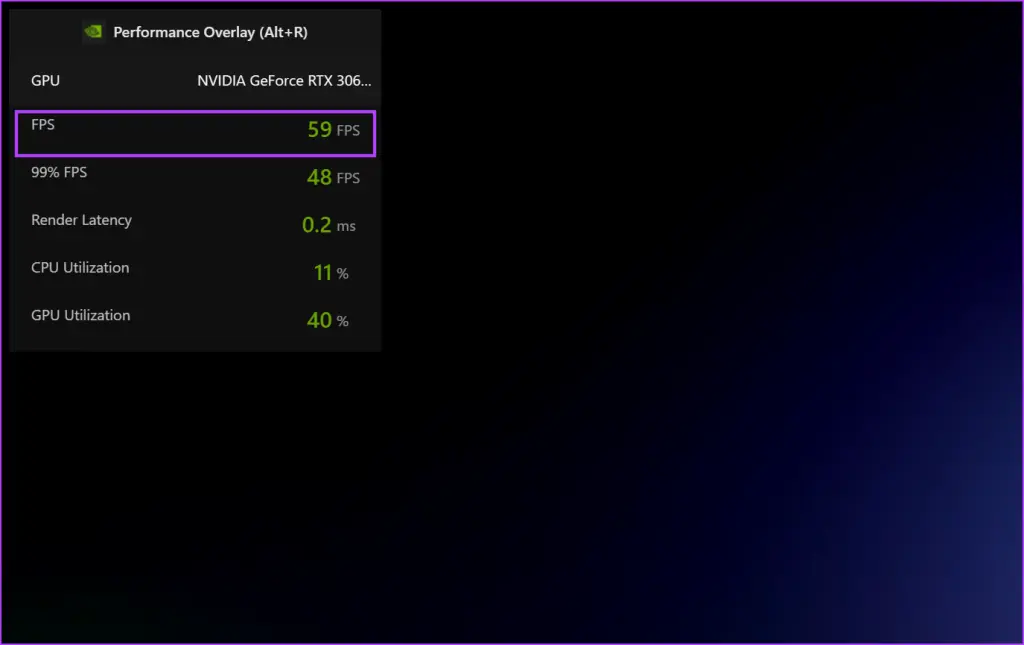
Step 9: Press the Alt + R keyboard shortcut to launch the overlay. You will see an FPS and other metrics in the corner.
5. USING RTSS WITH MSI AFTERBURNER
MSI Afterburner is an excellent overclocking utility. But it can also display the FPS and other hardware usage statistics while gaming and can even record and save benchmarks. But it needs Riva Tuner Statistics Server (RTSS) to gain OSD properties and display the metrics on the screen. Here’s how:
Step 1: Download MSI Afterburner on your PC.
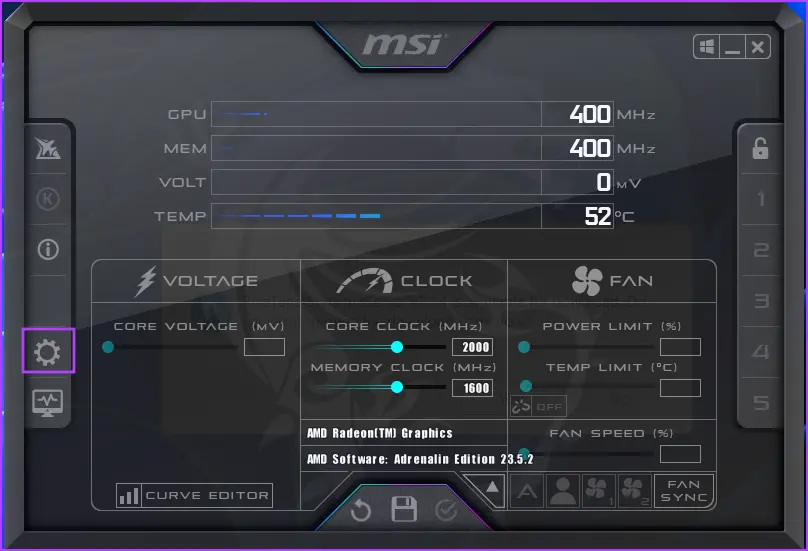
Step 2: Install MSI Afterburner on your PC and launch it. Click on the Settings icon.
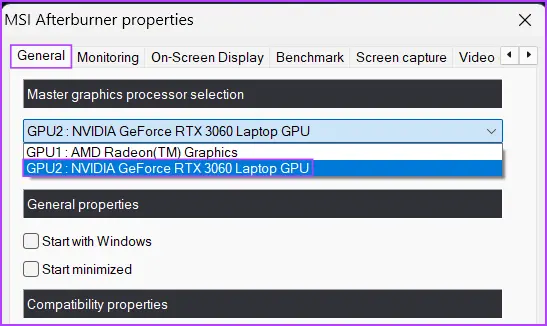
Step 3: In the General tab, expand the drop-down list below the ‘Master graphics processor selection’ option. Select the GPU you use while playing games.
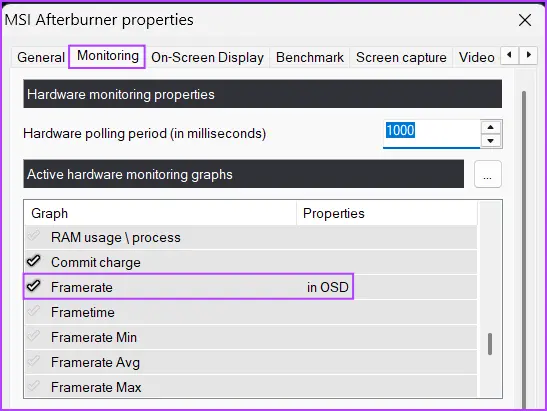
Step 4: Switch to the Monitoring tab and locate the ‘Active hardware monitoring graphs’ option. Find and click on the Framerate option in the list.
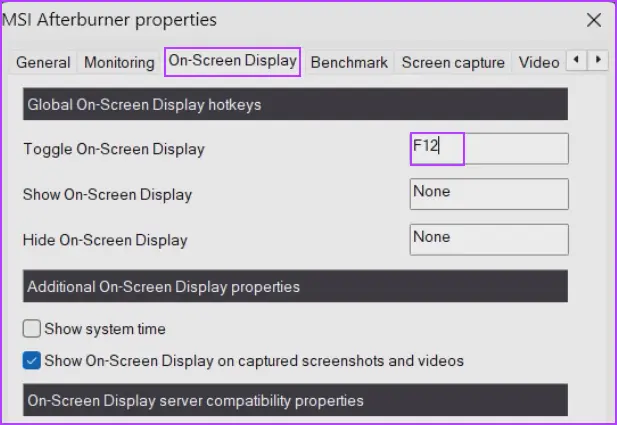
Step 5: Switch to the On-screen display tab. Click on the box next to the Toggle On-screen display option. Press the F12 key.
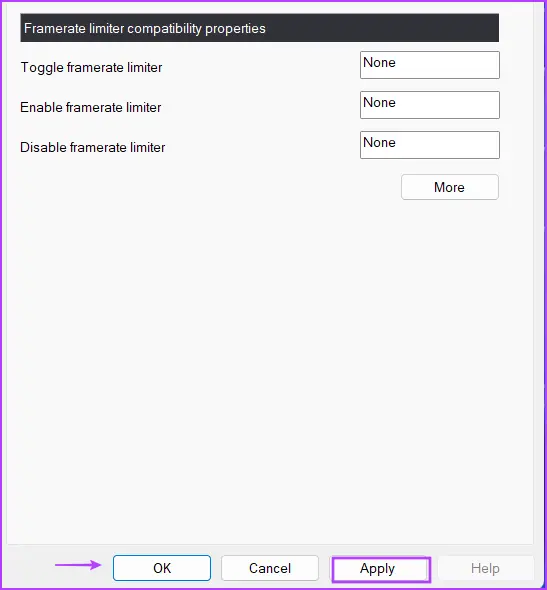
Step 6: Click on the Apply button and then hit the OK button.
Step 7: Minimize the MSI Afterburner window and launch a game. The FPS counter will appear on the screen. You can press the F12 key to toggle it on or off.

guidingtechسادهگو